Today, in 2018, we live in an extremely visual world: dozens, or even hundreds, of photos pop up on our screens, billboards, newspapers and magazines every day. Where photography was only something for professionals or skilled amateurs not even that long ago, today everyone is a photographer with a (mobile phone) camera in their pocket. Photography has never been easier, the latest mobile phones incorporate scene detection and very advanced Artificial Intelligence that visually improve our photos.

They allow us to take photos in low light, add contrast, depth of field, saturation, and even beautify our skin when we take a selfie.
Photography is not a simple document of reality anymore, but a personal interpretation of reality. With a trendy filter and easy to use photo editing apps, we can transform the look of our photo in an instant.
Even with all this technology, the best camera is the one that you carry with you when you want to capture a scene. Whether it’s a fancy DSLR, the latest mobile phone with AI, or an analog polaroid camera. But what turns a regular snapshot of your home into a more appealing photo? Let me share some easy tips with you to shoot better photos.
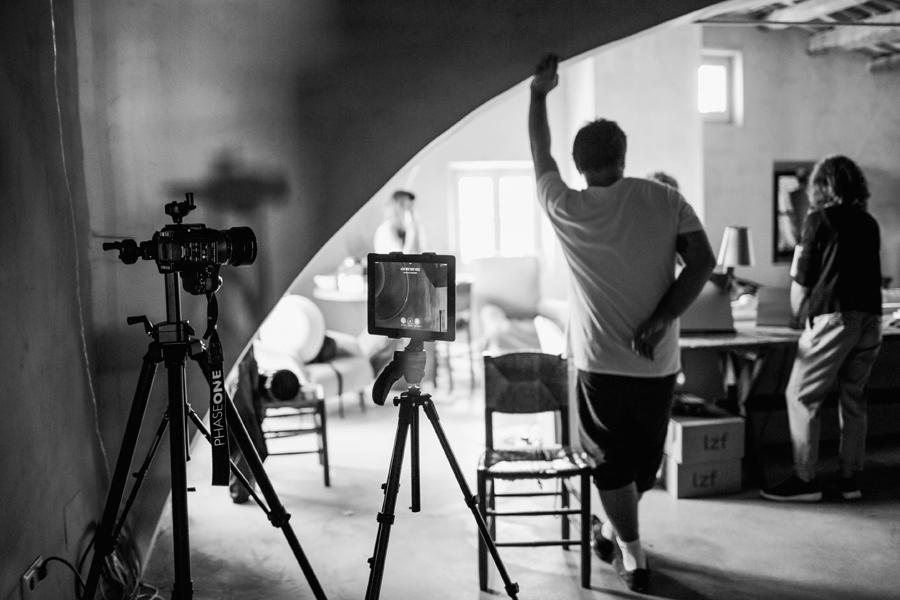
Training
If you want to improve your photography skills, there is one thing you absolutely should do: train your eyes. Take photos every day and make photography (and not just clicking that button) part of your daily habits. Find a subject that you enjoy and document it daily, or weekly if that is more realistic for you.


Try taking a photo of your subject from a different angle than you would usually do and play with depth of field. Have a look at photos that you really love and analyze them: why do you like it so much? Is it the colors? The subject? The composition? The mood? Keep this in mind next time you shoot a similar scene and try to recreate it in the photo you are taking. Practice creates the master!
Composition
Let’s say that you are trying to create a photo of your new side table at home. Your first instinct could be to take a photo of the side table on its own, but you’ll see that when you step back and take a photo of the side table including some of the rest of the space, like the angle of the room, the sofa, maybe a piece of carpet, a pendant light, it will create context. It shows what the new table looks like in your space and allows you to see the actual size of it.

To spice things up, try capturing the side table a bit off center in the composition. A practical tip is the use the “Rule of Thirds” as it creates more tension, energy and interest in the composition than simply centering the subject. My personal favorite is to create a “frame” in a photo by holding a big leaf close to the camera, or by photographing a subject through the leaves of a plant close by: it adds some green blur and texture and frames the subject.
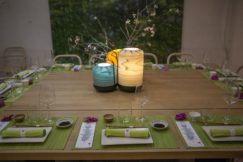
Styling
Your new side table looks nice and beautiful, but it also has a purpose: it holds “stuff”: maybe some books and magazines. A vase with fresh flowers, a table light, some personal trinkets, a framed photo, or some lush plants. Styling your side table for a photo is a lot of fun: it is also a very personal way to express yourself. Are you a minimalist that enjoys just a few beautiful items, or do you like your sideboard to be filled to the brim?
A few tips to style your side table: play with different heights of objects and work in small groups of 3 items. One tall item, one medium sized item and a smaller object.
Place them on your side table like on a sports podium: the tallest in the middle, the second largest on the left, number 3 on the right. A book or a pile of books can add additional height to any of these 3 items. Also gather items that have a different structure and that feel different: something sleek and glossy, something rugged or spiky, something with a haptic pattern. Of course, it’s not “wrong” to place four similar glossy vases on top of your side table (it can even be really beautiful), but using the “small groups of 3 or 5 items” tactics and trying to match non-identical textures is exciting too!
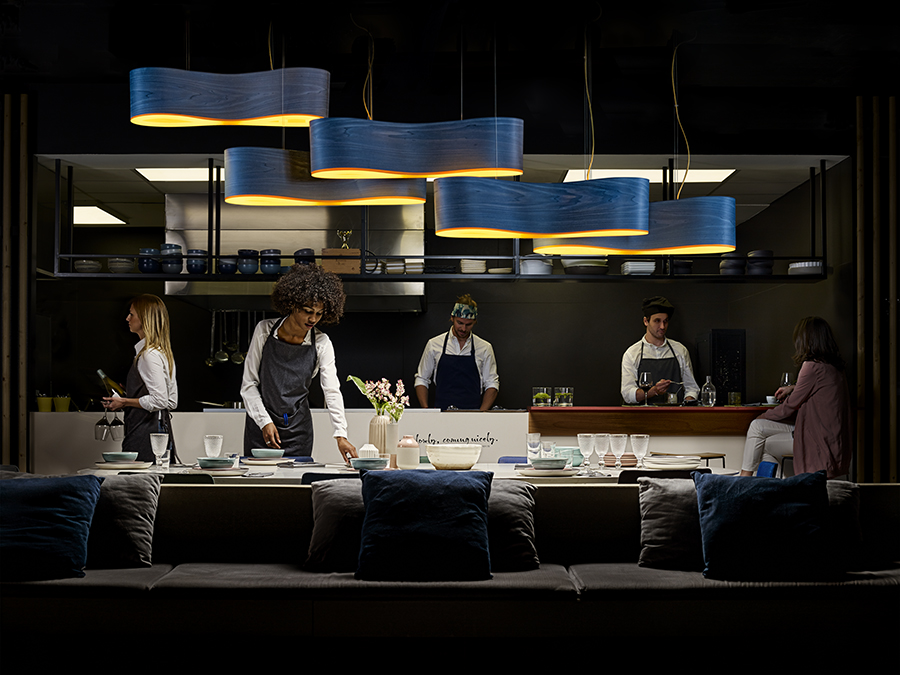
Light
Photography is all about light: the difference between natural daylight on a sunny day or a gloomy overcast day is impressive. To take beautiful photos at home, I recommend to use natural light.
Observe the room of your side table throughout the day and look how the light changes: from subtle morning light, to bright harsh shadows in the afternoon, to the glow of Golden Hour.
Playing with these different kinds of light, can create completely different results. And don’t forget about shadows: placing something with a good shape (like a leaf) in the sun that shines on your scene, add an extra dimension to your photo!

If your room is very dark and you need some additional light, use a reflector board to increase the illumination on your subject. Reflector boards come in all different sizes and colors like white, silver and gold. Depending on the look that you are going for, you use a different color. Indoors, a white or silver reflector board is most common. Instead of investing in a professional reflector board, you can work with a piece of white styrofoam or a white blanket. Add a layer of silver foil on the styrofoam board for some bright silver reflections.
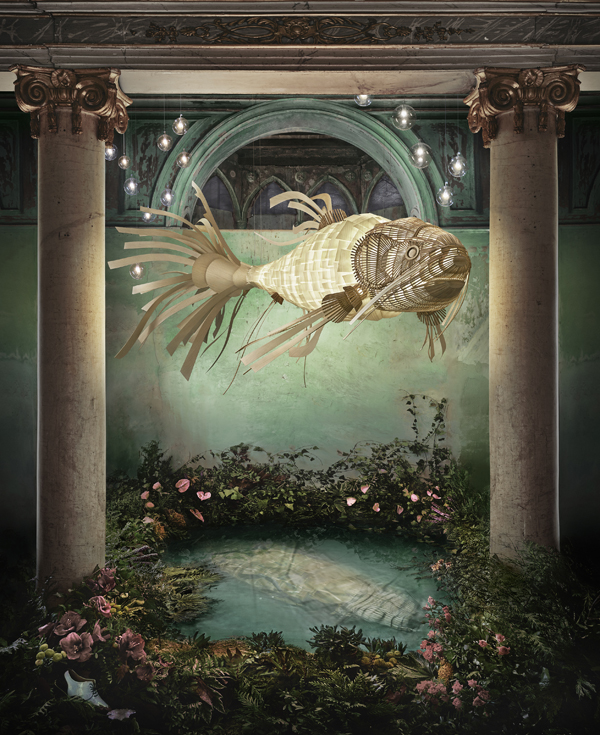
Natural materials
Beautiful light can come from daylight, but adding additional light sources in your home, and thus in your photo, adds a livelier look. As I mentioned above, playing around with a variety of textures, makes any photo more interesting, that’s why I love adding natural elements to my home, like my collection of houseplants and some dried flowers, a bowl of freshly picked hazelnuts. I mix this with colorful ceramics and throw pillows and match them with wooden furniture and wooden lighting.

I have a large floor lamp in wood that my father made for me as a gift, and the LZF AIR table lamp. The wood patterns in the veneer add a warm and cozy feeling to our home in the evening. All these natural materials at home, create a healthier indoor air climate as well, as they don’t release gases or particles. Some plants even have air purifying qualities and produce oxygen, like the Sameera snake plant, Aloe vera, Areca palm and spider plants. These four plants are very easy growing plants that don’t require complicated watering or fertilizing skills.
Enjoy!
There are lots of techniques to make your photos looks better and really show the vibe of your home. But if you don’t enjoy taking these pictures in the first place, you’ll see this in the final photos. It is like call center agents that are on the phone all day to sell products and services. If they smile while speaking to you on the phone, you will truly feel it and that obviously that helps to improve sales. If you take joy in creating beautiful photography, it shows!